DIY - Coin Peter Pan Collar!
If you've seen my previous post, here then you've seen the neckpiece that I made that I'm wearing in the post. This is the DIY for it! It's super simple and took me about 20 mins to make. I'm serious!
What you'll need:
1)An old metallic belt.

What you'll need:
1)An old metallic belt.
If you were like me and statshed up on metal belts when they were a rage back in the day then this should be easy to find. If not, you can find one in a local costume store or a thrift store
(Try General Bazaar here in Hyderabad)
2) Ribbon
3) A pair of scissors or pliers
(use to pry open the chain links. Since I didn't have a plier, I used a pair of scissors.)

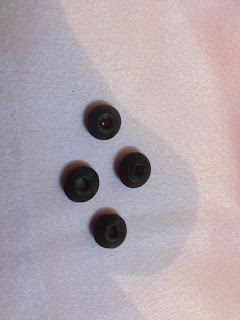
5) stop beads
(Any small beads will do just make sure its big enough for 4 strings of ribbon to just manage to pass through. It should feel tight so the necklace doesn't become lose when you put it on.)
How to make:
Step 1: Select a section of the belt that you want to use. Since my belt had the loops, making a peter pan collar suited it best. I also made another one with three loops, using the longer bit of the belt for the center.
Step 2: While cutting the ribbon, measure approximately how long you want the the neckpiece to be and how flexible you want it with regard to its length and then cut twice that because you will need to loop the ribbon through the last link of the collar. You can choose to just tie a ribbon on the last link if you want but i think this just looks neater and more importantly a single string of ribbon on both ends will mean only two ribbons passing through the stop beads which will not be enough to slow the bead down on the ribbon.
Step 3: once you've looped the ribbon through the last chain link, pass both strings through the stop bead and then tie the two ends of that ribbon together. Do the same with the other end of the neckpiece. Be sure to pass the two strings on the other end through the stop bead as well before you tie a knot. This will need a little more patience since it will be slightly harder to put two more strings through after the first two have been put through.
Step 4: Wear it!
Hope you try this for yourself! Feel free to leave any comments you may have about your versions of this DIY!
XOXO
Bee


supa-cool!
ReplyDeletewill try maself soon!
Much love
kirtana http://memypendown.blogspot.in/
Thank you so much! :)
ReplyDelete<3
Oooo.... Very Nice!!! :D
ReplyDelete